Gaggiuino: adding pressure profiling to a Gaggia Classic
Cover: after Jean-Baptiste-Siméon Chardin, his careful kitchen-still-life tradition — espresso pressure profiling as dignified domestic craft — a brass lever machine, demitasse, scattered beans on stone counter, a sketchbook of curves.
March 2026 — on why a €400 espresso machine can pull shots a €4000 machine can’t
The Gaggia Classic is a semi-automatic espresso machine with a straightforward design: a pump, a boiler, a solenoid valve, and a group head. It’s been in production in roughly the same form since 1991. It’s not a cheap machine, but it’s not expensive either — around €400 new, often found secondhand for less. It is, by design, simple.
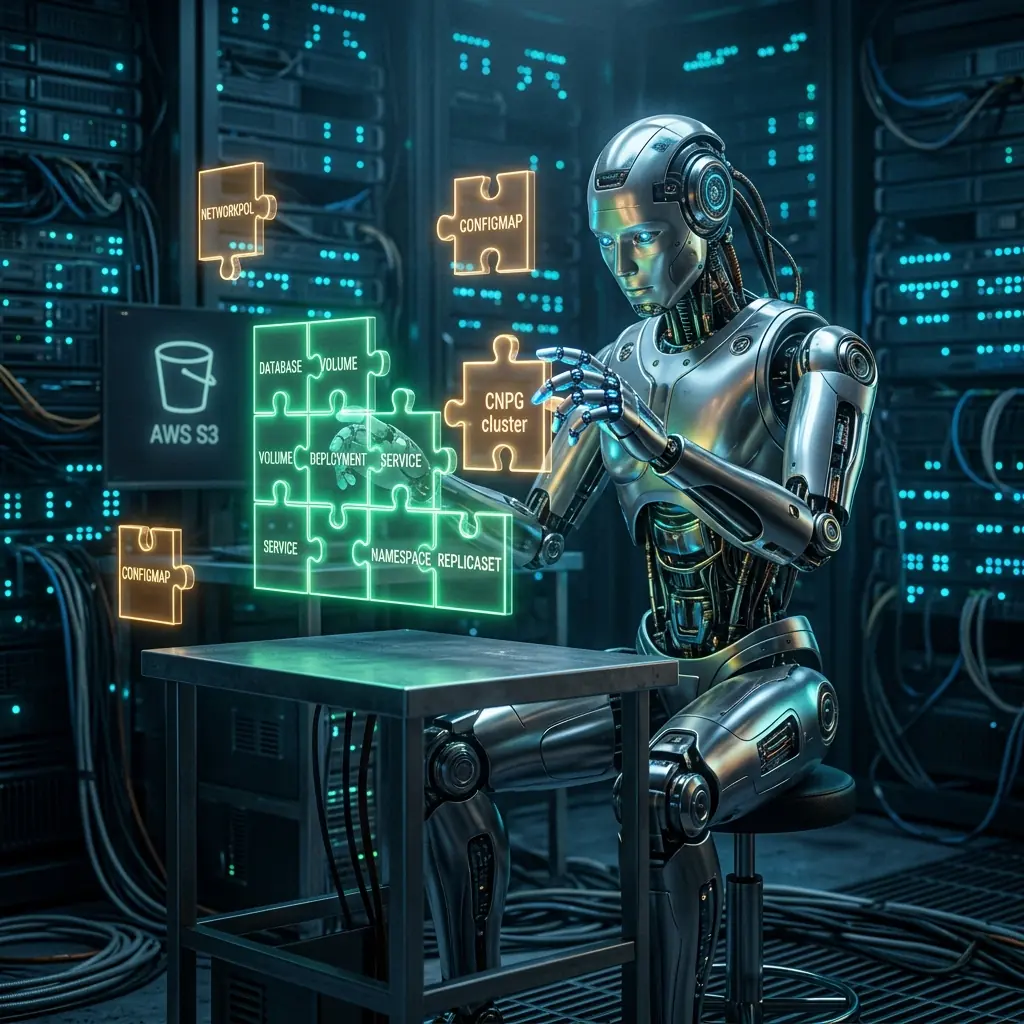
That simplicity is also why it’s moddable. Gaggiuino is an open-source project that adds microcontroller-based pressure profiling to the Gaggia Classic without replacing any core hardware. The machine still works exactly as before. It just also does things that machines ten times the price don’t.
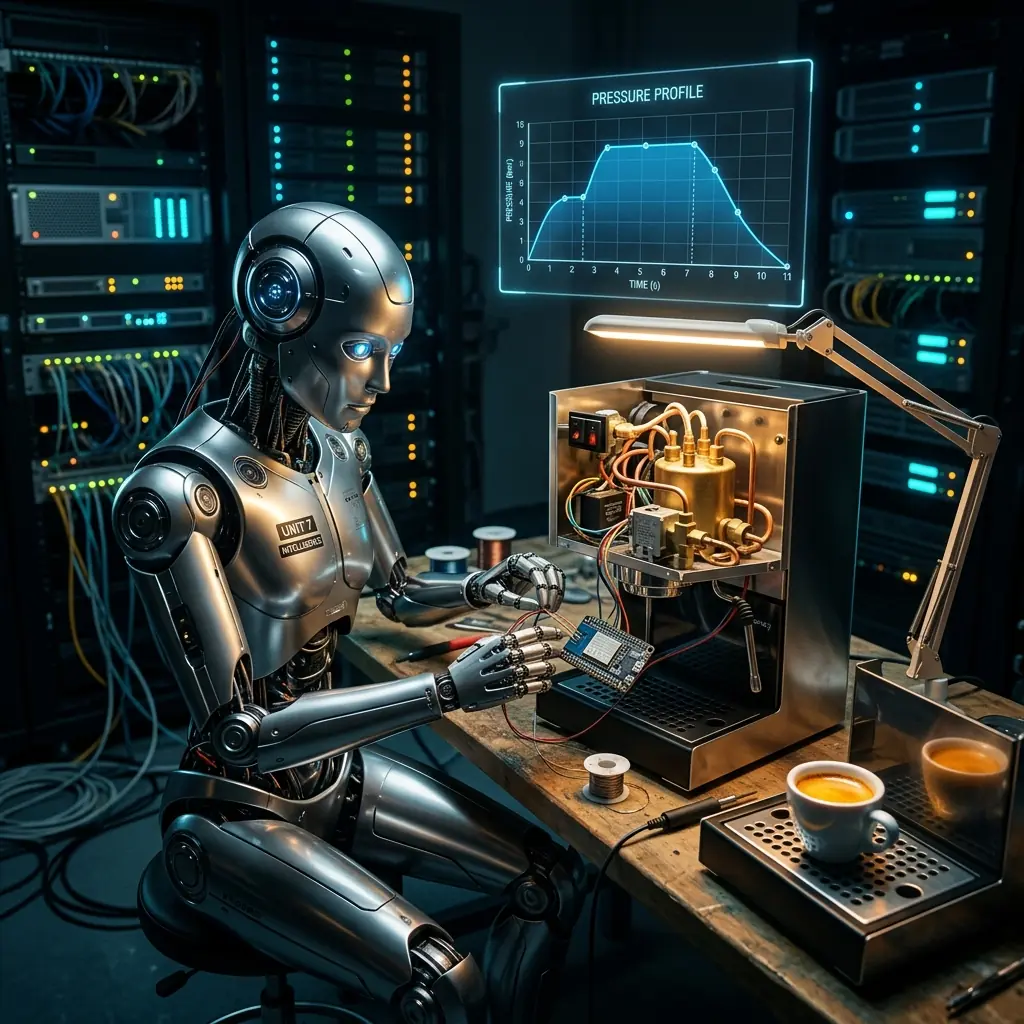
What pressure profiling actually does
A standard espresso machine runs its pump at full power throughout the shot. The pressure at the puck is whatever the pump produces minus the restriction of the coffee and the plumbing — typically 9 bar. It doesn’t change during the shot.
Pressure profiling changes the pressure over time. Common profiles:
- Pre-infusion: start at low pressure (2–3 bar) to wet the puck evenly before ramping to full extraction pressure. Reduces channelling.
- Decline profile: start high, drop pressure as the shot develops. Produces a different extraction curve, often with more sweetness and less bitterness.
- Flat: 6 bar throughout instead of 9 — useful for lighter roasts that don’t need the extraction pressure designed for Italian espresso.
The difference in the cup is real and repeatable, not audiophile-level placebo. A well-dialled pre-infusion profile on a medium roast produces a noticeably better shot than the same coffee at flat 9 bar.
How Gaggiuino works
The Gaggia Classic’s pump is a vibratory pump — a solenoid that oscillates at mains frequency and drives a piston through magnetic attraction and a spring return. Its output depends on how much power reaches it each cycle: run it flat-out for full flow and pressure, feed it less and both drop.
Gaggiuino intercepts the pump power line and inserts a triac-based AC dimmer that chops the mains waveform — phase-angle control, effectively PWM for an AC load. At full power the pump runs normally; dial it down and flow drops proportionally, until at the low end you get the gentle pre-infusion that wets the puck evenly. (The boiler is switched separately by a solid-state relay — that’s the true on/off “relay” in the build; the pump needs the dimmer’s finer control.)
The control system also needs to know what’s happening:
- Pressure sensor: a small transducer tapped into the boiler circuit via a T-fitting and short silicone tube reads actual pressure in real time
- Temperature sensor: the existing thermostat is supplemented or replaced with a thermocouple for accurate boiler temperature
- Flow sensor (optional, on some builds): measures volumetric flow for dose-by-weight or dose-by-volume control. I haven’t added a flow sensor yet because precise volumetric control is less critical to me than consistent pressure profiling.
An STM32 microcontroller runs the real-time control — reading the sensors and driving the pump dimmer and boiler SSR to execute whatever profile you’ve configured — paired with an ESP32 that handles Wi-Fi and the web interface. A small touchscreen shows shot time, pressure curve, and temperature in real time.
The install
Opening a Gaggia Classic is straightforward — six screws and the top panel lifts off. The internals are not complicated: the pump, the boiler, the 3-way solenoid valve, and the wiring harness connecting them.
Building one yourself? I’ve since written a full step-by-step guide for the GEN3 V4 on the Gaggia Classic Pro E24 — wiring, firmware, first run, and a hard-won troubleshooting chapter: gaggiuino-guide.djieno.com.
The wiring harness is the critical part. Before touching anything, label every connector. The photo documentation exists for a reason — connectors that look different are different, but connectors that look identical are not always interchangeable, and reassembling a mains-voltage appliance with two wires swapped is not an experiment you want to run on your kitchen worktop.
The control board and pump dimmer mount inside the case — there’s enough space above the pump if you’re deliberate about cable routing. The pressure sensor taps into the low-pressure side of the boiler circuit via a T-fitting; the clear silicone tube from the sensor to the fitting needs to be short enough to avoid water hammer but long enough to route cleanly without kinking.
The labeled cable harness is the part that takes patience. Every wire that gets intercepted or extended gets a label: position, function, direction. This is not because the Gaggia wiring is complex — it isn’t — but because you’re working around 230V components in a confined space, and clarity is the difference between a working machine and a service call. The alternative is less fun.
What the firmware gives you
The Gaggiuino firmware runs a web interface accessible from the local network. You define pressure profiles graphically: a time-pressure curve with settable breakpoints. The machine executes it shot by shot, repeating the profile exactly each time.
The shot history logs pressure, temperature, and flow data for every extraction. Over time, this is genuinely useful: you can see whether your grind adjustment actually moved the extraction profile, whether the puck prep technique affects channelling (visible as pressure spikes), and whether the beans aged off over the week.
For a machine that was designed to pull a single repeatable shot at 9 bar, this is a substantial capability extension.
The economics
The core Gaggiuino electronics — control board, pump dimmer, pressure sensor, thermocouple, connectors — cost around €30–50 self-sourced. The firmware is free and open source. A complete pre-assembled kit (touchscreen, scales, ready-made harness) costs more — from roughly €150 up depending on options — but it’s still a rounding error next to what built-in profiling costs elsewhere. The install takes an afternoon.
A commercial machine with built-in pressure profiling starts at around €2000 and goes up from there. The profiles available on those machines are often preset curves from the manufacturer, not freely programmable. The shot data is often locked to a proprietary app.
None of this means commercial machines are bad. It means that a €400 Gaggia Classic with a Gaggiuino install — €40 of DIY parts, more if you buy a kit — is not competing on brand or fit and finish; it’s competing on what it can actually do with coffee. On that metric, it holds its own against machines that cost significantly more.
The espresso is better. The machine costs less. The system is yours to understand, modify, and repair.
That’s the whole point.